
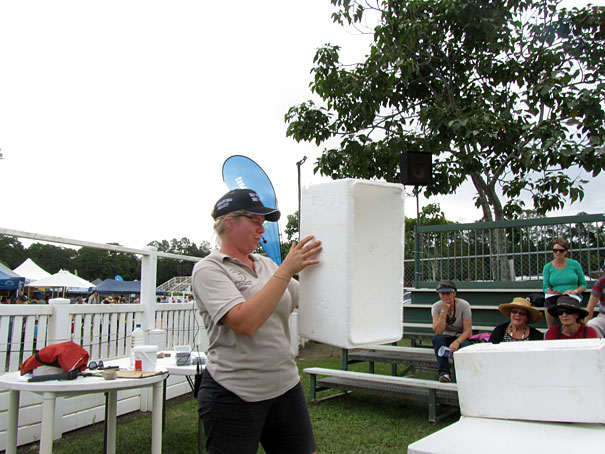
We’ve all seen those worm farms in the garden shops – some for more than $100 dollars, just to hold worms. A couple of weeks ago I went to the Queensland Garden Expo and attended a demonstration on how to make your own worm farm from leftover bits and bobs and one purchased plastic tap. Oh, and the worms. You’ll need 2000 of those little babies.
As food lovers we should return the leftovers to the Earth whenever we can, even if it’s to a pot of basil or rosemary. I don’t have a lot of soil as most everything here is decking or paving.
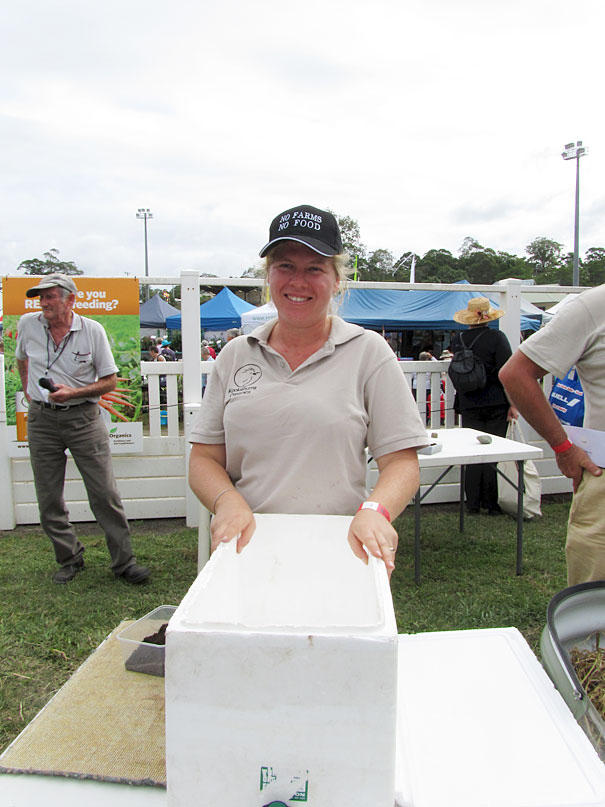

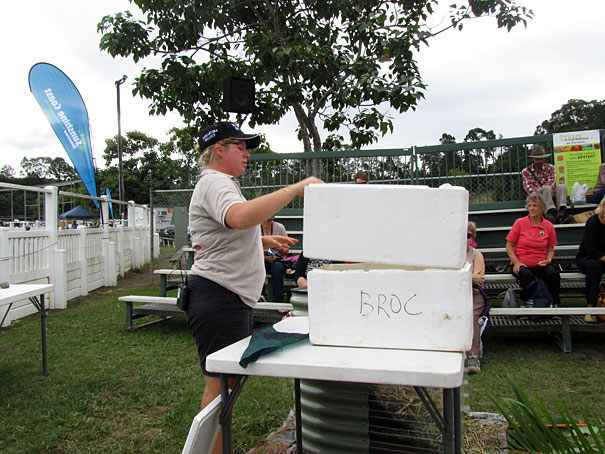
Giving the demonstration was our own food, farm and travel blogger, Lizzie Moult from Strayed from the Table. When Lizzie and her husband Roy moved to the country to a community called Hunchy (I’m not making this up) they went from gastronomical budget travel to farming. One of the things Lizzie and Roy needed was a worm farm for getting rid of kitchen scraps so the worms could uhh.. err.. poo a lot so their garden would grow. Gardens LOVE worm poo. It’s a perfect organic liquid fertilizer.
Lizzie uses styrofoam vegetable boxes that she got for free. One box was obviously used for broccoli. She said all she did was ask at the veggie market. You need two to start with and one must have a lid.
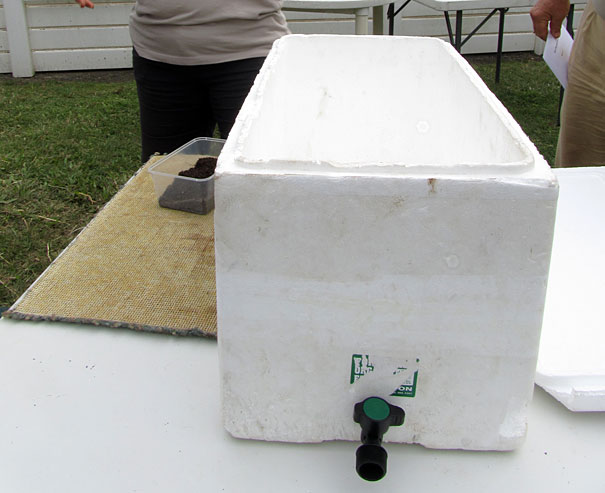

On the bottom box you need to put a tap/valve in so you can drain off the liquid. You can get the plastic tap at your local hardware store. It pokes through the styrofoam and when there is liquid in the bottom box, you drain it off.
Lizzie says that’s worm pee and it’s great for the garden if you dilute it before using. I’ll take her word for it but I don’t really want to think about worm pee. It’s way too strong to use undiluted and will harm your plants.
Once you have your tap in, you’re ready for box number two. Yes, this is the box they’ll poo in so it really IS box number two.
First you poke holes in the bottom using a kitchen skewer. You want a lot of them about an inch or so apart, including the corners, so any liquid gets to the bottom where you can drain it off for your garden.
Once you have all the holes, lay a piece of shade cloth, burlap or other loosely woven fabric that will allow the liquid to pass through but not your precious worms. Then add some mulch like straw in the bottom to about 1/4 full.
Next add compost – Lizzie suggests using mushroom compost and use enough to bring it up to about 3/4 full.
Now come the worms! Lay them out on the compost and cover them with about an inch of mulch – straw or sugar cane mulch and lightly water. You don’t want the worms wet – only moist.

Place a bit of old damp carpet on top and then close the lid and leave them all alone for 3-4 days. Worms hate being moved so they need this time to rest before getting fed. Make sure the lid is on securely or your worms will go walkabout.
Don’t feed them very much but when you do, place it at one end of the worm farm and recover with the damp carpet. When the food is gone and they’re ready to be fed again put the next food in the middle and the next time on the other end. Too much food will rot and the worms won’t be happy. You’re better off feeding them less and letting them grow and procreate and then they’ll eat what you give them. According to Lizzie, the worms will only multiply to fill the space available.
Worms will eat most anything but they don’t like onions or citrus. It’s not good to feed them meat, dairy or anything that’s sprouting. They won’t eat it and it will rot and mess up their box. Don’t put pet poo in there either because it will affect your plants.
Lizzie did a great job and I will have my new worm farm cranking juice soon. If you’re in Southeast Queensland, Lizzie is hosting a workshop on Saturday, July 27th at her farm on how to grow organic vegetables with Gary Hands from Kookaburra Organics.